Overview
This article explains how to upload an SSH key to your DreamCompute dashboard. You can then use it when creating a new instance.
This article is only for DreamCompute. If you need to configure SSH Keys and Passwordless Login on a managed server (Shared Hosting, VPS, Dedicated), view the following articles instead:
Uploading an SSH key
- Find the public key file and open it to copy its contents.
- Navigate to the DreamCompute page.
- Click the View Dashboard button.
- Click Compute on the left.
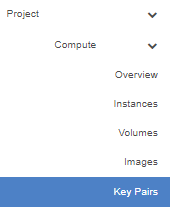
- Click Key Pairs.
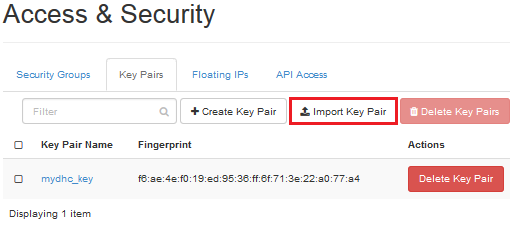
- Click the Import Key Pair button on the right.
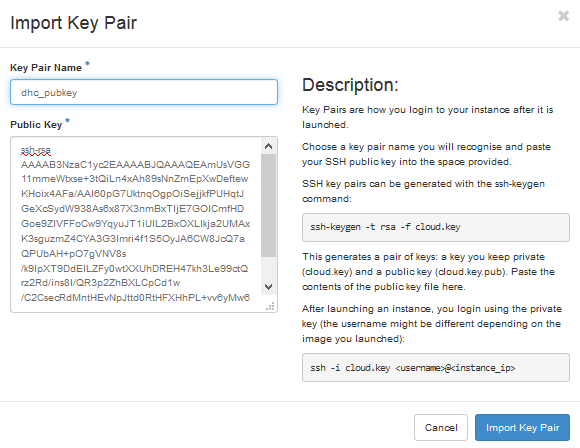
-
Give it a name and paste in the contents of your public key.
If you only have a private key (no file extension, .pem, or .ppk are a few examples of private keys) or the public key is not in a format that DreamCompute can accept, you'll need to load the private key into a tool like the PuTTY Key Generator or the command-line utility ssh-keygen with the -y parameter to get a properly formatted public key.
- Click the Import Key Pair button to save it.
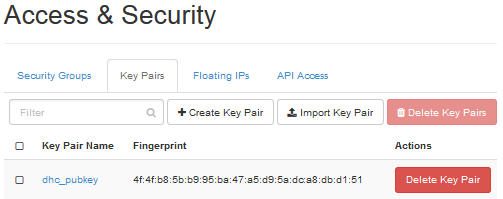
You can now see it in the dashboard.
Adding the Key pair to an instance
Now that the Key pair exists, you can assign it to a new instance while you're creating it. View the following article for details: