Overview
After logging in to your DreamHost server via FTP, upload your website's files to your website directory (/home/username/example.com) — never to your user's home directory. This article explains the directory structure and how to upload and download files.
What are the user and website directories?
After logging into your web server, you'll notice different directories and files. You should be aware of the following:
User's home directory
The User's home directory is where your user config files, Maildir, logs, and website directories are located. For example:
/home/username/
               .alias
               .bash_profile
               .bashrc
               .cshrc
               /Maildir
               /logs
               /example.com
You will never upload website content to this directory.
The website directory
The Website directory is where your website's files are located. Other hosts reference this as the public_html directory, but it functions the same way at DreamHost. For example:
/home/username/example.com
Always make sure you're in your website directory when uploading content.
What do the left and right windows show?
Once you have logged in to your web server via FTP, you'll see two windows. The following example shows the main screen in FileZilla:
The left window
- The left window displays your home computer. You must navigate to the directory where your website files are stored. From that directory, you can upload the files to the server.
The right window
- The right window is your DreamHost server.
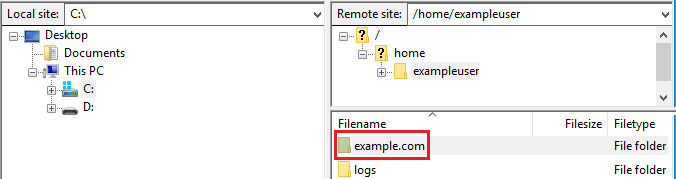
Change into the website directory
When you originally log in, you may be placed in your user's home directory. To work on your site, click into your website directory (in the right window).
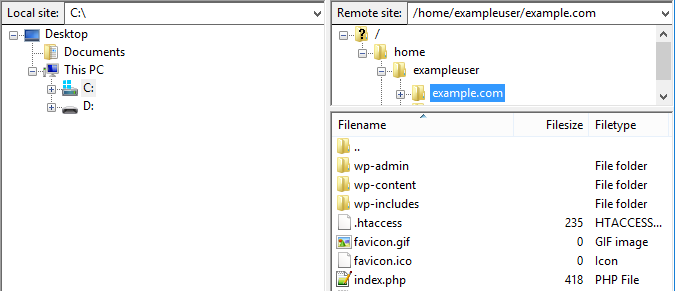
This example shows several WordPress files.
You can confirm the user is in their website directory because the Remote site is pointed to /home/exampleuser/example.com.
Please note that different clients may not refer to this as Remote site. The important thing is that you're in the website directory.
How do I upload files?
Once both windows are set to the correct directories, you can right-click files or folders to upload.
- In the left window (your computer), locate the file or folder you'd like to upload.
- Right-click it.
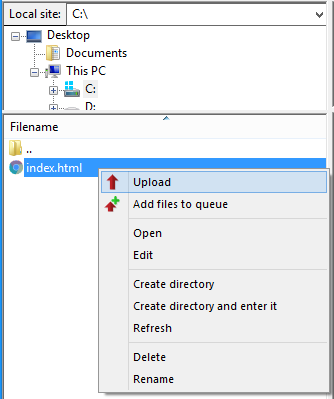
- From the pop-up that appears, choose Upload. This uploads the file to the server, where you can immediately see it in the right window.
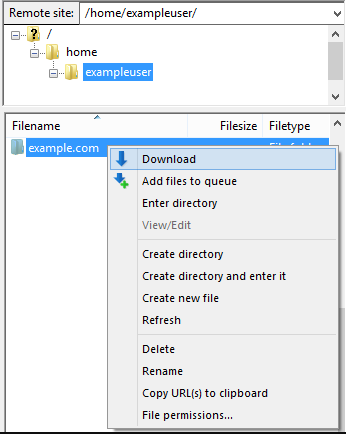
How do I download files?
To download from the server, right-click a file or folder and choose Download from the pop-up.
The data is then downloaded to your computer in the directory you have open in the left window.
This example shows the website directory is clicked on, which downloads your entire website.
You can do the same to any single file.