Overview
WordPress plugins extend your site's functionality by adding features such as caching, contact forms, and spam filters. This article explains how to install, update, and disable plugins on your WordPress site. View this WordPress article for further information on installing and managing plugins.
How do I install a new plugin?
These steps install a plugin within the WordPress dashboard.
Before installing, it's important to make sure your plugins are compatible with the version of WordPress you're using.
- You can find the version of WordPress you're using in your WordPress dashboard.
- You can then verify if a plugin is compatible by searching for it in the WordPress' Plugin Directory. Each plugin page specifies the version of WordPress it is compatible with.
- Log into your WordPress site.
- In the left menu, navigate to Plugins > Add New.
- Search for the name of the plugin and click the Install Now button.
- Navigate to Plugins page and click the Activate button under the plugin.
Some new plugins may not appear on the Add Plugins page within your WordPress dashboard. If so, you can still install it manually using the instructions in this article.
How do I update plugins?
It's important to keep your plugins up to date to improve performance and mitigate security issues.
Update in your dashboard
Log in to your WordPress dashboard and navigate to the Plugins page. Here you can see all of your plugins and which ones have updates available.
Making a bulk update
To update all plugins:
- Click the dropdown at the top of the list.
- Select Update from the Bulk Actions dropdown.
- Click Apply to update all plugins.
However, it's recommended to confirm the newer versions are compatible with your version of WordPress first.
Disabling a plugin
If you are experiencing site slowness and want to see if it's related to resource usage (and not something on DreamHost's end), simply disable all your plugins and switch to the default theme.
If your WordPress installation suddenly runs faster, it's recommended that you go through your plugins and enable them one by one to see if any of them are using more resources than the others. The following two-step process describes how to do this.
Step 1 — Disable all plugins
The fastest way to disable plugins is by renaming the folder on the server.
- Log into your server via FTP or SSH. (This example uses Filezilla).
- Make sure you're in your WordPress site's directory.
- Navigate into the /wp-content directory. Here you can see the /plugins directory.
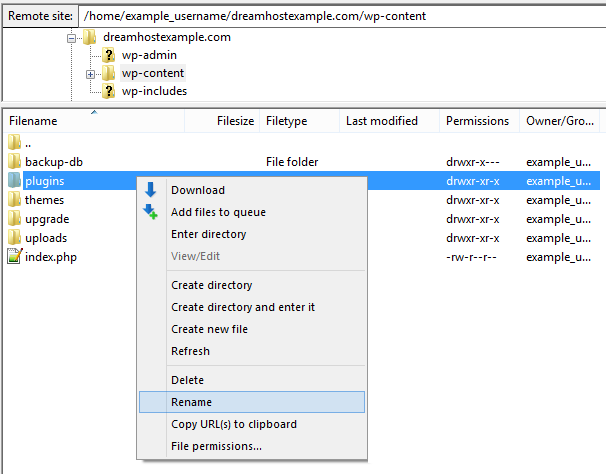
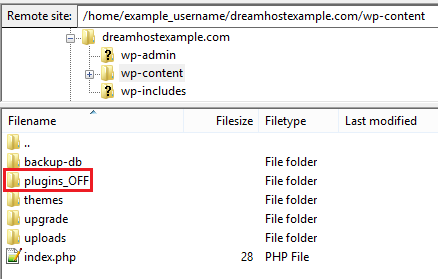
- Right-click to rename the /plugins directory to /plugins_OFF. This immediately disables all plugins.
- Test your site again to see if this resolved the issue.
Step 2 — Rename each plugin
If you find your site suddenly improves, this indicates one of your plugins was causing the issue.
- Rename the /plugins_OFF directory back to /plugins.
- Click into the /plugins folder to view all of your plugins.
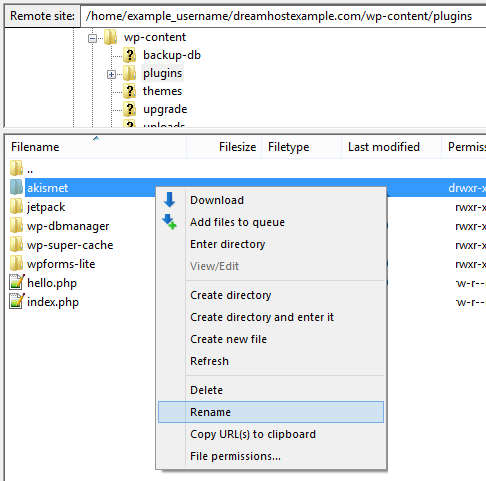
- Rename them one at a time to disable them. As you rename them one at a time, load your site to see if that plugin was the one causing the issue.
Once you find out which plugin is the culprit, contact the developer directly. All WordPress.org hosted plugins and themes have a support forum with developer contact information.