Overview
You can use WebYog's free trial version of SQLyog to connect to your DreamHost MySQL database.
How do I connect to my database using SQLyog?
- Download and install SQLyog. The Connect to MySQL Host dialog box appears when you open SQLyog:
- Click the New button. The New Connection dialog box opens:
- Enter a name for the new connection and click the OK button. You can name it anything you wish.
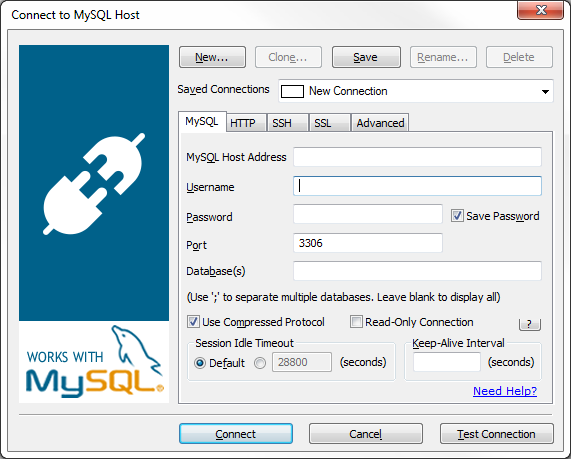
- Enter the following information under the MySQL tab:
- MySQL Host Address — The MySQL host address can be found on the MySQL Databases page in your panel. For more information, see the Finding your database login credentials article.
- Username — The username for the database.
- Password — The password for the database.

- Enter the following information under the SSH tab:
- SSH Host Address — See this article for instructions lo locating the hostname of your web server.
- Username — View the FTP overview and credentials article for instructions on locating your website's username.
- SSH Port — Enter 22 as the SSH Port value.
- Password — The password you entered when you set up the domain for the user. View the Change password article for instructions on how to update this.
- When finished, click the Test Connection button.
Once you're able to connect, click the Connect button to connect to your DreamHost MySQL database.