Overview
Hidden files (those beginning with a period, such as .htaccess) are not shown by default in most FTP clients, so you must manually enable them — for example, in FileZilla via Server > Force showing hidden files. This article explains how.
How do I enable hidden files?
FileZilla
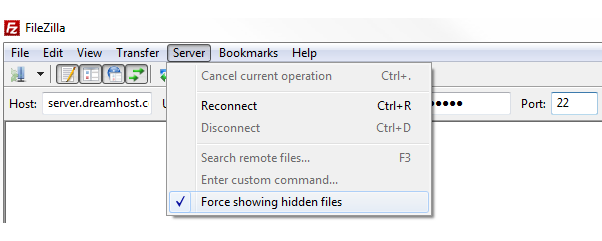
For example, to enable this in FileZilla, click the Server tab at the top and select Force showing hidden files.