Overview
This article walks you through creating a phprc file, which allows you to customize your website's PHP settings.
Background
Every installation of PHP comes with default settings that function well for most websites. However, in some situations, it may be necessary to adjust these settings to suit a specific website's needs. This can be accomplished by creating and customizing a php.ini (phprc) file to adjust the PHP settings.
Before you begin
Please be aware of the following before customizing your settings.
Terminology
The standard term for a PHP configuration file is php.ini. However, DreamHost uses the term phprc file instead. This acts the same way – only the name is different. In this article, only the term 'phprc' is used.
Creating the file
You can create a phprc file using an FTP client, or for more advanced users, by logging into the server via SSH.
An FTP client is recommended for beginners as it provides a visual interface to navigate and edit files. In this article, the FTP client Filezilla is used.
What websites use these settings?
The phprc file you create is used for any domains under a specific username that are also running the same version of PHP.
For example, if the user has three domains where two are running PHP 8.2 and the third is running PHP 8.3, only the first two domains running 8.2 would be affected by the phprc 8.2 file. You would need to create a separate phprc 8.3 file for the PHP 8.3 site.
DreamHost Professional Services
If you find yourself in a situation that requires changes to your site and your developer isn't available to help, DreamHost's skilled support team may be able to assist you for a small fee. You can find more information about supported services and associated costs in the DreamHost Professional Services article.
Creating the phprc file
These steps create, edit, and update the phprc file for a specific version of PHP.
- Log into your web server via FTP.
-
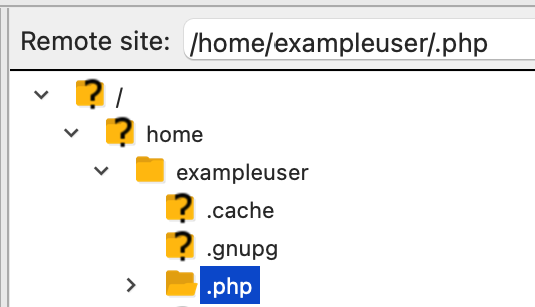
Confirm that you’re in your user's directory.
You can see this in Filezilla in the ‘Remote site:’ field. It will say /home/username.
-
Click into the .php directory within the user's directory. If you do not see the directory, make sure you have:
- Connected using the FTP user that hosts the site.
- Enabled hidden files in your FTP client.
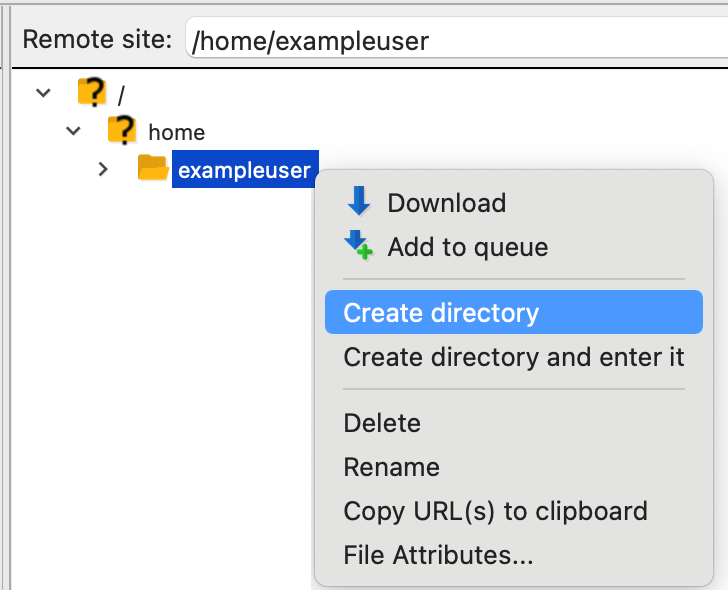
If you find this directory does not exist under your user, you can simply create the .php directory along with the nested subdirectories for any PHP versions you are using.
3.1 - Right-click in your username's directory. From the pop-up, select Create directory.
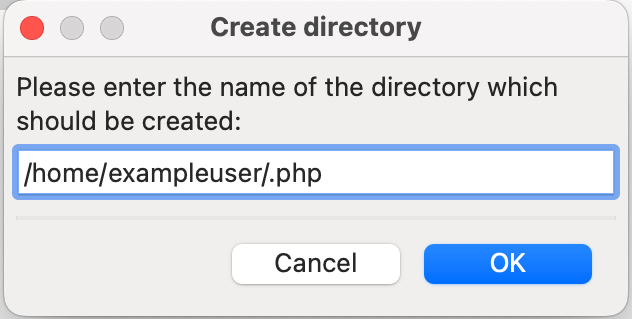
3.2 - Name it .php. Click into this new directory.
3.3 - Create any subdirectories for the specific version of PHP you're creating a phprc file for, such as 8.2 or 8.3.

- Click into the PHP directory that matches the version your site is running.
-
Right-click on the phprc file, and then choose View/Edit.
If this is the first time you've opened this file on a Windows computer, you may see the following warning.
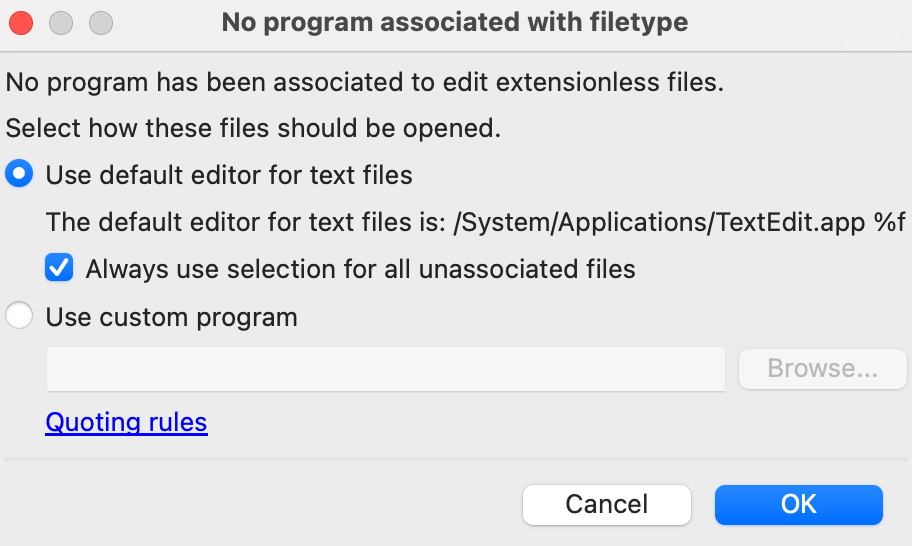
Check the box titled Always use selection for all unassociated files and click OK.
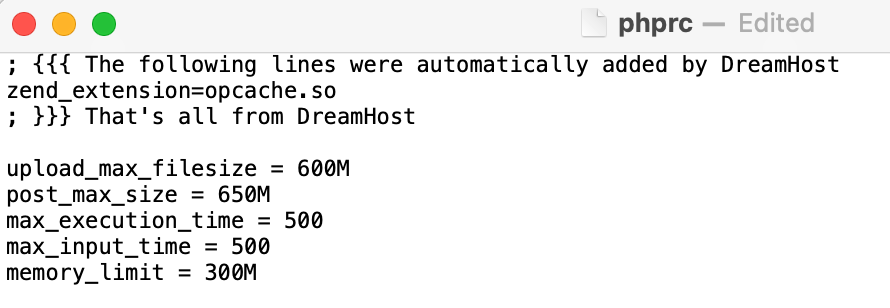
A default text editor opens for you to add your customizations.
-
Add your code customizations below the following lines of code created by DreamHost.
; {{{ The following lines were automatically added by DreamHost
zend_extension=opcache.so
; }}} That's all from DreamHost
Do not add any lines within the beginning and ending semicolons. If you place your code within the semicolons, it will be overwritten by the server.
-
Save the file. The following pop-up displays:
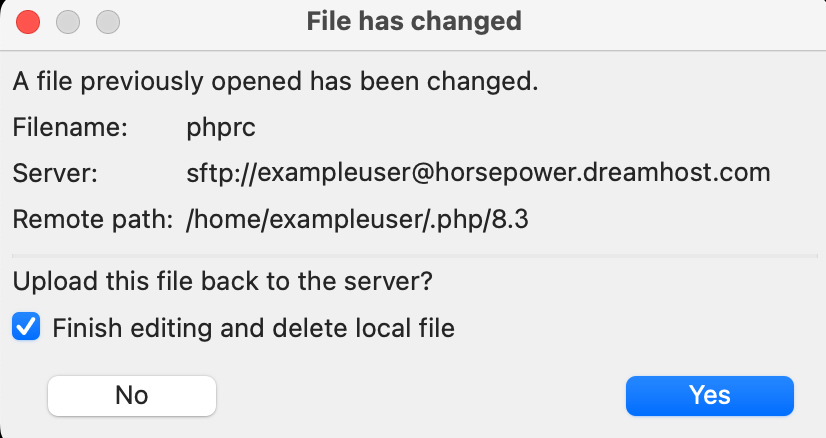
- Check the box that says Finish editing and delete local file, and then click the Yes button to save.
Updating the file
Now that you've added your customizations, you must kill off running PHP processes to ensure your new settings update.
Kill off running PHP processes
Killing off all running PHP processes ensures your new settings are updated. See this article for instructions.
Confirm your changes
After you've edited the file and killed off all PHP processes, you should check to confirm the values have updated. You can do this by creating a phpinfo.php file.
If you do not see your changes have updated, try killing off your PHP processes again.