Overview
PuTTY is a free Windows terminal emulator for connecting to your server over SSH so you can run UNIX commands. This article shows you how to download and install PuTTY in Windows.
Background
PuTTY is a free terminal emulator that Windows users can use to connect to a website via SSH. This allows you to run UNIX commands on your server, which is not available when connecting using an FTP client.
How do I install PuTTY?
Use the following steps to download and set up PuTTY on your Windows computer:
- Navigate to the C:\ directory and create a folder named \bin. This is the location into which you’ll download your PuTTY files. It doesn’t matter where you download them, but adding this directory makes it easier to keep track of the files.
- Open the PuTTY download page in your browser.
- Download the PuTTY files from that site into your C:\bin folder:
There are two options when downloading:
Option 1
Download the package file at the top of the page ending in .msi. This downloads all files you'll need into C:/Program Files/PuTTY.
Option 2
Download the individual files. If you use this option, note that there are three different choices for each file. You most likely want the 64-bit x86 option:
- putty.exe
- puttygen.exe
- pageant.exe
- Navigate to the directory where the files were downloaded.
- Double-click the putty.exe file to open it.
You can also create a shortcut on your Desktop for easy access:
- Right-click on your Desktop and choose New > Shortcut
- Browse to the location of your putty.exe file (it should be C:\Users\bin\putty.exe)
- Save the shortcut
The following configuration box appears when you open PuTTY: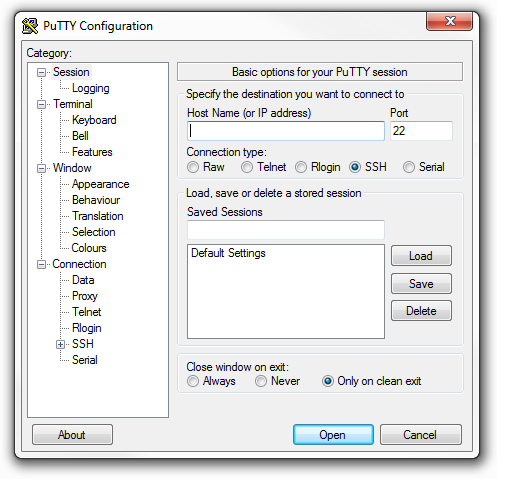
You are now able to configure PuTTY to log in to your website. See these instructions to create a configuration.
See also
DreamHost links
Third-party links