Overview
This article shows you how to configure PuTTY so that you are able to log in to your DreamHost server.
Make sure you complete the following before proceeding:
Configuring PuTTY
After you install PuTTY, use these instructions to set up a connection to your server:
- Navigate to the directory where you downloaded the PuTTY files.
- Double-click the putty.exe file to open.
You can also create a shortcut on your Windows desktop for easy access:
- Right-click on your desktop and choose New > Shortcut
- Browse to the location of your putty.exe file (it should be C:\Users\bin\putty.exe)
- Save the shortcut
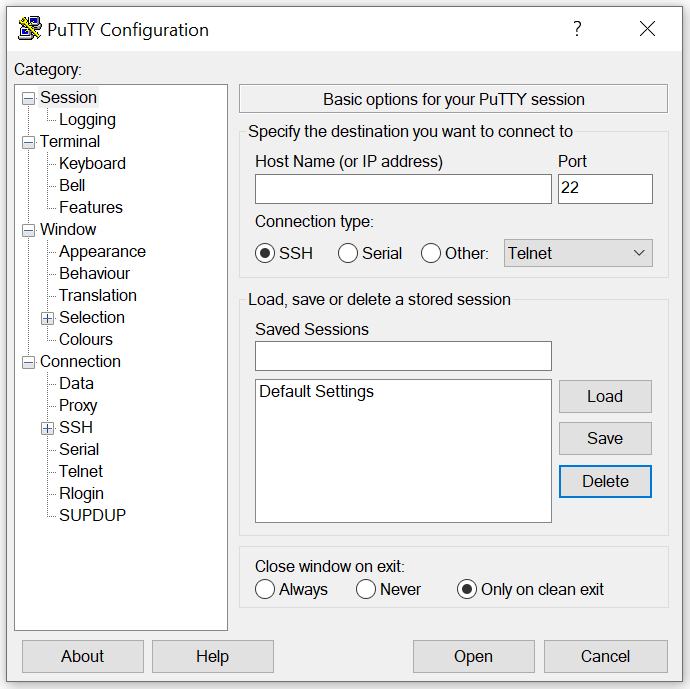
- The following PuTTY configuration box opens:
- Enter the following information:
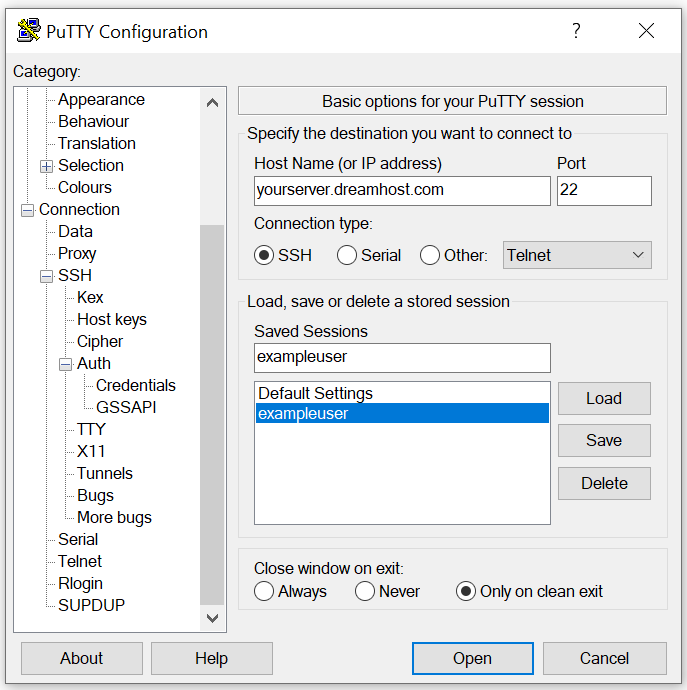
Field Content Host Name (or IP address) Enter your DreamHost hostname. For example, if your server is named iad1-shared-e1-09, this hostname is iad1-shared-e1-09.dreamhost.com. You can also use your website: example.com. Port 22 Connection Type SSH Saved Sessions Enter a name for this connection (e.g., DreamHost Server). - Click the Save button to save this configuration. The new configuration appears in the Saved Sessions list.
- Click the configuration name in the list.
- Click the Load button to load your saved configuration.
- Click the Open button.
- A terminal prompt opens.
- Enter your SSH username and click Enter.
- Enter your password to log in to your server.
Setting up passwordless login
The instructions above allow you to log into your server, but you must enter a password each time. To avoid having to enter your password each time you log in, you can set up a passwordless login configuration. See this article for instructions.
See also
DreamHost links
Third-party links