Overview
You can delete a WordPress installation that was set up using the DreamHost WordPress installer in the panel.
Be very careful before proceeding, as these instructions will delete your website content. Make sure to thoroughly read the following sections before proceeding to delete your WordPress installation.
See this article if you instead wish to only deactivate WordPress automatic updates.
Before you begin
The following sections provide important information that helps you prepare to delete a WordPress installation.
DreamPress sites
If your WordPress site is configured on a DreamPress hosting plan, the steps to delete or downgrade differ from those in this article. See the following articles instead for more information:
What files are deleted from my server?
Several files may be deleted depending on where WordPress is installed on your website, which is further explained in the next section. For example, it could be installed in:
- The Primary web directory (example.com)
- In a Subdirectory (example.com/blog)
What's the difference between removing and deleting?
When you visit the WordPress tab for your domain, you have several options to consider.
Remove DreamHost Management
Clicking the Remove button deactivates a DreamHost WordPress install so it is no longer managed by DreamHost. If you wish to continue using this WordPress install, you will then be responsible for keeping it updated.
This option removes it from the list, but it does not delete any files.
Permanently Remove WordPress
Clicking the Remove button deletes everything in the WordPress installation directory and removes it from the panel. As noted above, only use this option if you want all content under your WordPress installation deleted.
Make sure to back up any data you do not want to lose before clicking this button. See the following articles for more information:
Deleting a WordPress installation

How do I confirm where WordPress is installed on my website?
- Navigate to the Manage Websites page.
- Click the Manage button to open Website settings, which allows you to modify various configurations for your site.
- Click the WordPress tab.
- Select your WordPress installation from the Managing dropdown. See the following sections to determine where your WordPress files reside.
The primary web directory
If WordPress is located in the primary web directory, your website name is displayed:
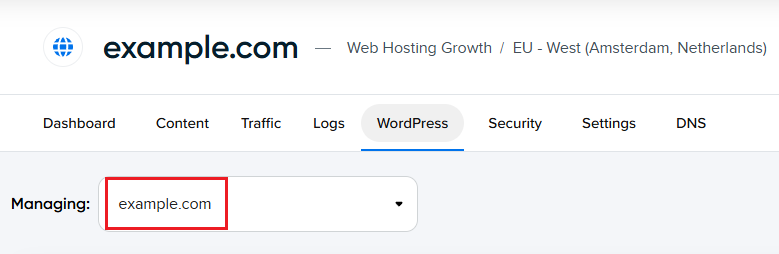
The primary web directory is the directory your website loads files from first. In general, this directory is the name of your website. For example, if your site is named example.com, your web directory would be /home/username/example.com.
If the DreamHost WordPress install is located in the primary web directory, be very careful when deleting it in the panel, as all files in the web directory and all subdirectories are deleted. This means that if you have any subdirectories like example.com/images or example.com/blog, those are also deleted.
Use this option only if you want everything deleted from your website including all other files under this web directory. If you need any of those files or subdirectories, make sure to back them up before removing the DreamHost WordPress install.
A subdirectory
If WordPress is located in a subdirectory, your website name is displayed followed by a forward slash and the subdirectory name:
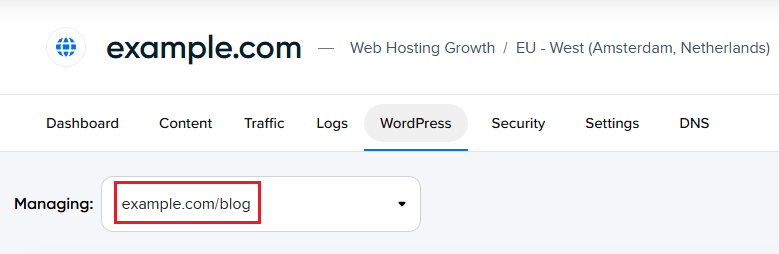
Deleting a subdirectory install will only delete the files within that specific subdirectory. For example, if your site was example.com/blog, only files within that /blog subdirectory are deleted, however, the empty /blog subdirectory will remain. No files are deleted above this directory, so anything within the /example.com directory remains untouched.

How do I delete the WordPress install?
When you're ready, scroll down to Permanently Remove WordPress and click the Remove button. A warning message appears, prompting you to confirm your choice. Click Proceed with Removal to submit the request.

How do I delete the database?
When you click Proceed with Removal, only the files on the web server are deleted. Your WordPress database remains in your panel untouched.
To delete your database, navigate to the MySQL Databases page and click the Delete DB button to the right of your database.