Overview
This article explains how new customers can sign up for a DreamHost account using their personal details, payment information, and hosting plan.
Signing up for a new account
These steps walk you through setting up a new account with hosting, allowing you to publish your website online.
Choose a hosting plan
DreamHost offers several hosting plans for you to host your website. See the following pages for a list of available plans:
- Shared Web Hosting Plans
- WordPress Hosting (including DreamPress)
- Managed VPS and Dedicated
Create a new account
The steps to create a new account below are generally the same for all hosting plans.
Adding a hosting plan
-
Click the Sign Up Now button under the plan you chose above.

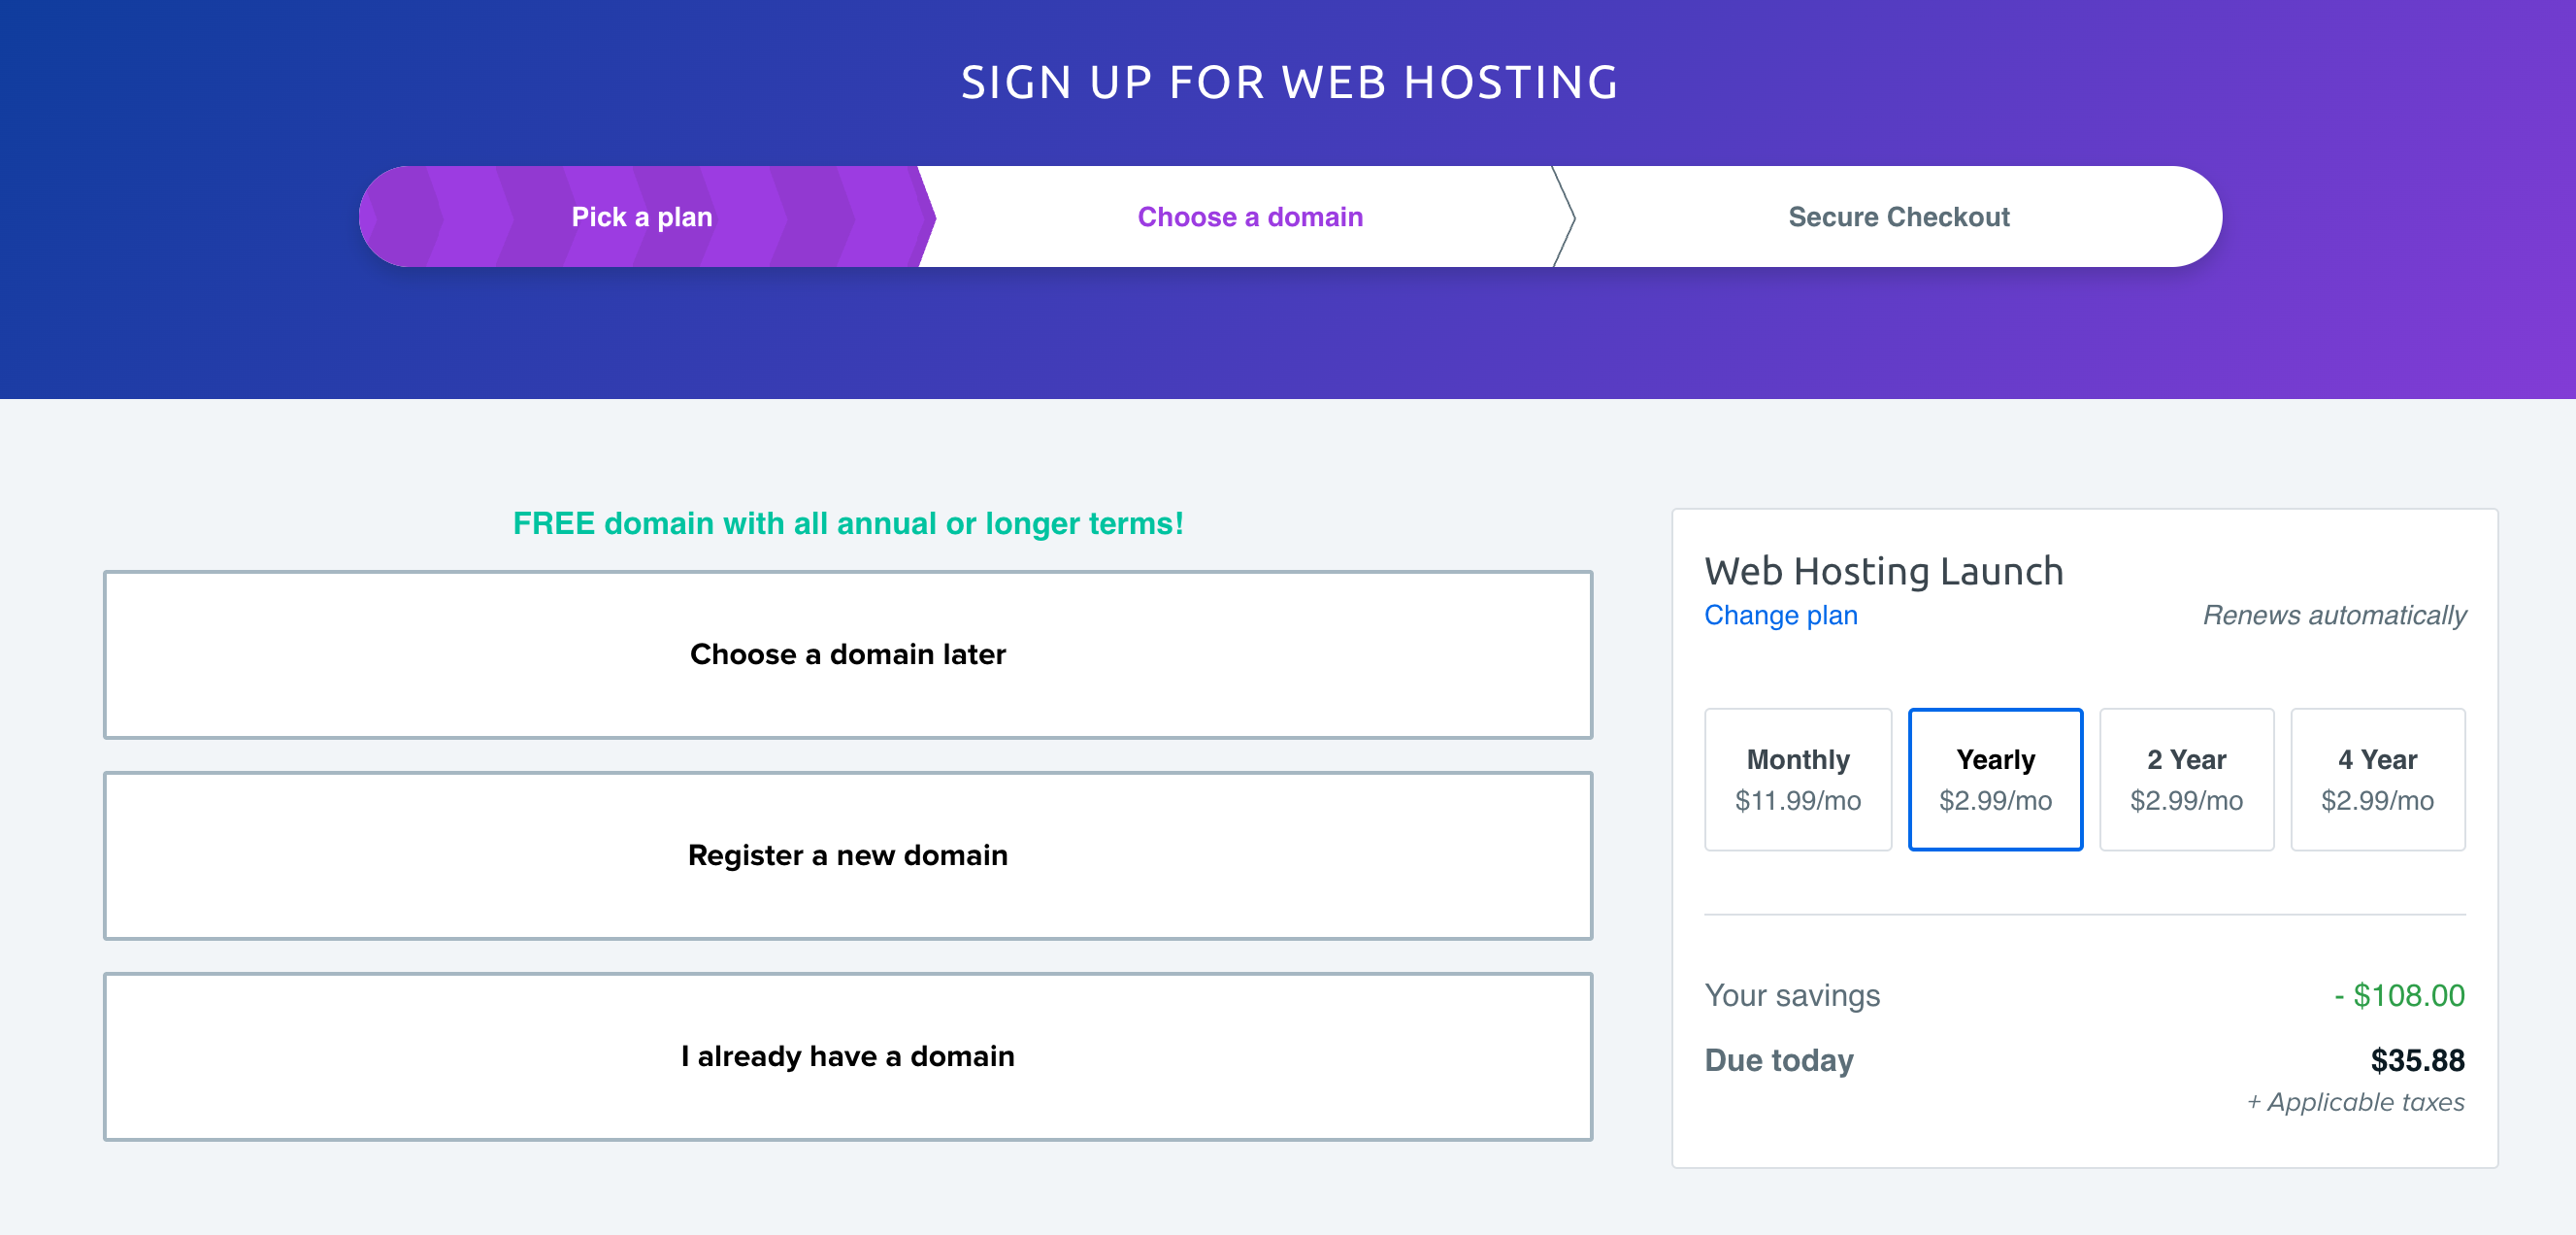
- Select an option:
- Choose a domain later to skip this step.
- Register a new domain if you have not yet purchased the registration for your website name.
- I already have a domain if you have already purchased the domain registration.
- To the right, select the payment plan time frame and your desired add-ons.
-
Decide whether to pay with a credit or debit card, or with PayPal. If you choose PayPal, you’ll be redirected to their site to complete the purchase.

-
Enter an email address to use as the primary email when logging in to the DreamHost panel. You can also sign up using Google's Single Sign-On method. This allows the use of a Google email address to log in without a password.
Some browsers block pop-ups by default. If this happens, you’ll need to manually allow them in your browser settings. The following links show how to do this with popular browsers:
- Choose your preferred data center location from the dropdown menu. Final placement may vary based on current availability.
- Select additional options that appear towards the bottom. Some options may not appear depending on the hosting plan you select.
- When finished, click the Submit Order button at the bottom of the page.
Get started
After your hosting plan and account are configured, see these articles to help launch your new website.


