
Overview
You can prepare your downloaded email backup files for import into a new email provider by decompressing the files, locating your messages inside the Maildir folder, and renaming each file with an .eml extension so your new mail client can read it.
How do I prepare my downloaded email files?
The following three steps explain how to download, decompress, and prepare the files so that you can view them within another email provider.

How do I download and decompress my mail files?
When you use the panel backup, all data is saved as .tar.gz files in your panel. See this section to learn more about how to download and decompress these files.

How do I locate my email files?
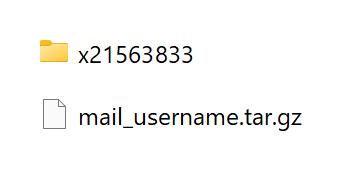
When you decompress your mail file using the instructions mentioned above, the decompressed files are put into a folder similar to the one shown in the following example (e.g., x21563833):
This folder contains a Maildir folder. Click into this folder:
Folder names within the /Maildir directory are commonly prepended with a period (.) and may be hidden, such as .sent. Make sure you enable hidden files/folders to be seen within your operating system in order to view these files/folders.
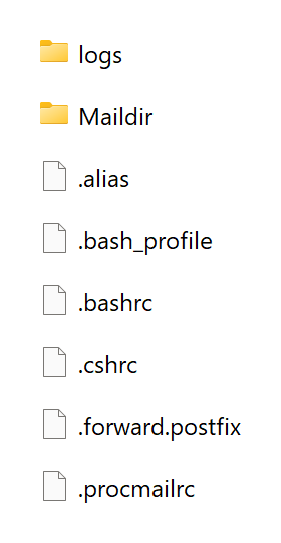
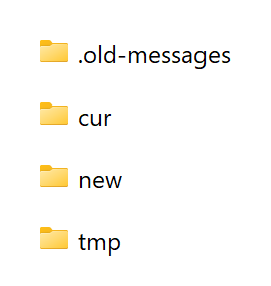
Your email folders and messages appear within the Maildir folder. For your Inbox messages, click into the /cur or /new folders. For all other messages, click into their folder and view their /cur or /new directories:
Emails will appear in the following format:
1435986g36.V34I895305bS934136.emailserver-master

How do I add an .eml file extension to all of my email files?
If you drag and drop these files into your mail client, it will not work. You must rename them first by adding an .eml extension to the end of any mail file. For example:
1435986g36.V34I895305bS934136.emailserver-master.eml
Only when they end with an .eml extension can your mail client recognize the file type. You can then drag and drop this file into your client.
Adding the .eml extension to multiple files using the command line
Open a terminal:
Mac or Linux computer — use Terminal, which is included within the OS.
Windows computer — download and open Windows Subsystem for Linux, which allows you to run Linux commands.
Navigate (by using the
cdcommand) to the directory where your emails are stored. This should be the /Maildir directory for a specific email address.Run the following command:
[local ~]$ find . -type f -exec mv '{}' '{}'.eml \;
After the .eml extension is added to all of the files in this directory and all of its subdirectories, drag them into your mail client to upload them to your new address.
How do I import contacts?
See this article for instructions on how to import contacts.
