How to encrypt your data
S3cmd can encrypt your data while uploading to DreamObjects. To use this functionality, you must first configure your .s3cfg file as shown in this article:
Configuring your .s3cfg file
Open the file in your user's directory.
[server]$ nano ~/.s3cfg
Add the following lines so you can use encryption. Make sure to create your own password for gpg_passphrase:
check_ssl_certificate = True
check_ssl_hostname = True
gpg_command = /usr/bin/gpg
gpg_decrypt = %(gpg_command)s -d --verbose --no-use-agent --batch --yes --passphrase-fd %(passphrase_fd)s -o %(output_file)s %(input_file)s
gpg_encrypt = %(gpg_command)s -c --verbose --no-use-agent --batch --yes --passphrase-fd %(passphrase_fd)s -o %(output_file)s %(input_file)s
gpg_passphrase = yourpassword
Your configuration is now set up to encrypt data.
Encrypting data while uploading
To encrypt your data while uploading, use the -e flag. In the following example, bucket-name is the name of the bucket you're uploading content in to. textfile.txt is the name of the single file you're uploading:
[server]$  s3cmd -e put testfile.txt s3://bucket-name

upload: '/tmp/tmpfile-zFGwbLHMVEINdHh3615n' -> 's3://bucket-name/testfile.txt'  [1 of 1]
 63 of 63   100% in    0s   129.96 B/s  done
To confirm it is encrypted, navigate to the DreamObjects page. Click the View Objects button under your username. A prompt opens for you to view objects in your bucket.
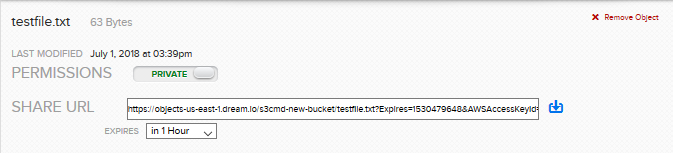
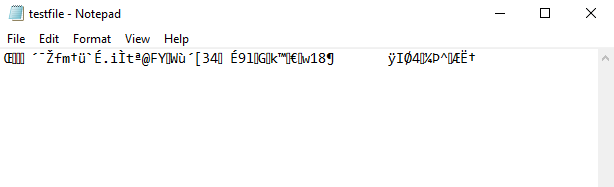
Click the object, copy the URL, and then paste it into a browser. You'll see the data in the file is encrypted.
Decrypting a file
When you use s3cmd to download an encrypted file, it's automatically decrypted for you:
[server]$ s3cmd get s3://bucket-name/encrypted-file.txt
download: 's3://bucket-name/encrypted-file.txt' -> './encrypted-file.txt'  [1 of 1]
 70 of 70   100% in    0s   323.19 B/s  done
If you read the contents of the file, you'll see it's no longer encrypted:
[server]$ cat encrypted-file.txt
Testing a file
Signing an S3 URL to provide limited public access
You can manually set an expiration date for a file to be accessed. To do this, you must first convert the date into a Unix Epoch timestamp.
- Decide on the date you wish to allow the URL to be signed/accessed until.
- Visit Epoch Converter to convert your date to an Epoch Timestamp. It will look like a string of numbers. For example: 1540232086
- Run the following command to sign the URL until this timestamp. (Make sure to change the bucket name and file name to your actual information.)
[server]$ s3cmd signurl s3://my_bucket/my_file.png 1540232086
http://my-bucket.s3.us-east-005.dream.io/my_file.png?AWSAccessKeyId=DHDPTCQ3WFGHPSS5FAXG&Expires=1540232086&Signature=9nf8f9kG%2FqDa76rmET4R%2FpbtaGM%3D
- This outputs the signed URL.
Alternatively, you can sign it for 1 week using this format:
[server]$ s3cmd signurl s3://my_bucket/my_file.png $(echo "`date +%s` + 3600 * 24 * 7" | bc)
- Share this URL so anyone can access that file until the date you have specified.